You’re aware that your home’s stability is as strong as its foundation, right? But here’s a question for you: how much do you know about basement wall stabilization techniques? These methods, such as wall anchors or helical tiebacks, are critical in maintaining the integrity of your home against soil pressure. Now, each technique has its unique aspects, its pros and cons. Wouldn’t you want to understand these factors before making a decision that could impact your home’s structural health? There’s definitely more to discuss on this matter.
Key Takeaways
- Basement wall stabilization techniques include wall anchors, carbon fiber straps, helical tiebacks, underpinning, and steel I-beams.
- Steel I-beams are installed using precise measurements, drilling, and bolting every 4 to 6 feet.
- Carbon fiber strips are moisture and chemical resistant, adhering to uneven surfaces after cleaning and applying epoxy.
- Helical tiebacks are drilled into the soil, enhancing load capacity and requiring minimal maintenance.
- Choosing a stabilization method involves assessing effectiveness, durability, environmental impact, ease of implementation, and cost-efficiency.
The Importance of Basement Stabilization
While you may not give it much thought, basement stabilization is more essential than you might realize. Preserving foundation integrity, controlling moisture, and ensuring structural safety are all vital aspects of this process.
The soil pressure around your home can exert a significant force on your basement walls. Without proper stabilization, these walls may bow or crack, thereby jeopardizing the safety of your home.
Basement stabilization provides long-term solutions to these potential issues, reducing the frequency of repairs in the future.
Moreover, environmental factors can create unexpected challenges, such as flooding or ground movement, both of which can compromise your basement’s stability.
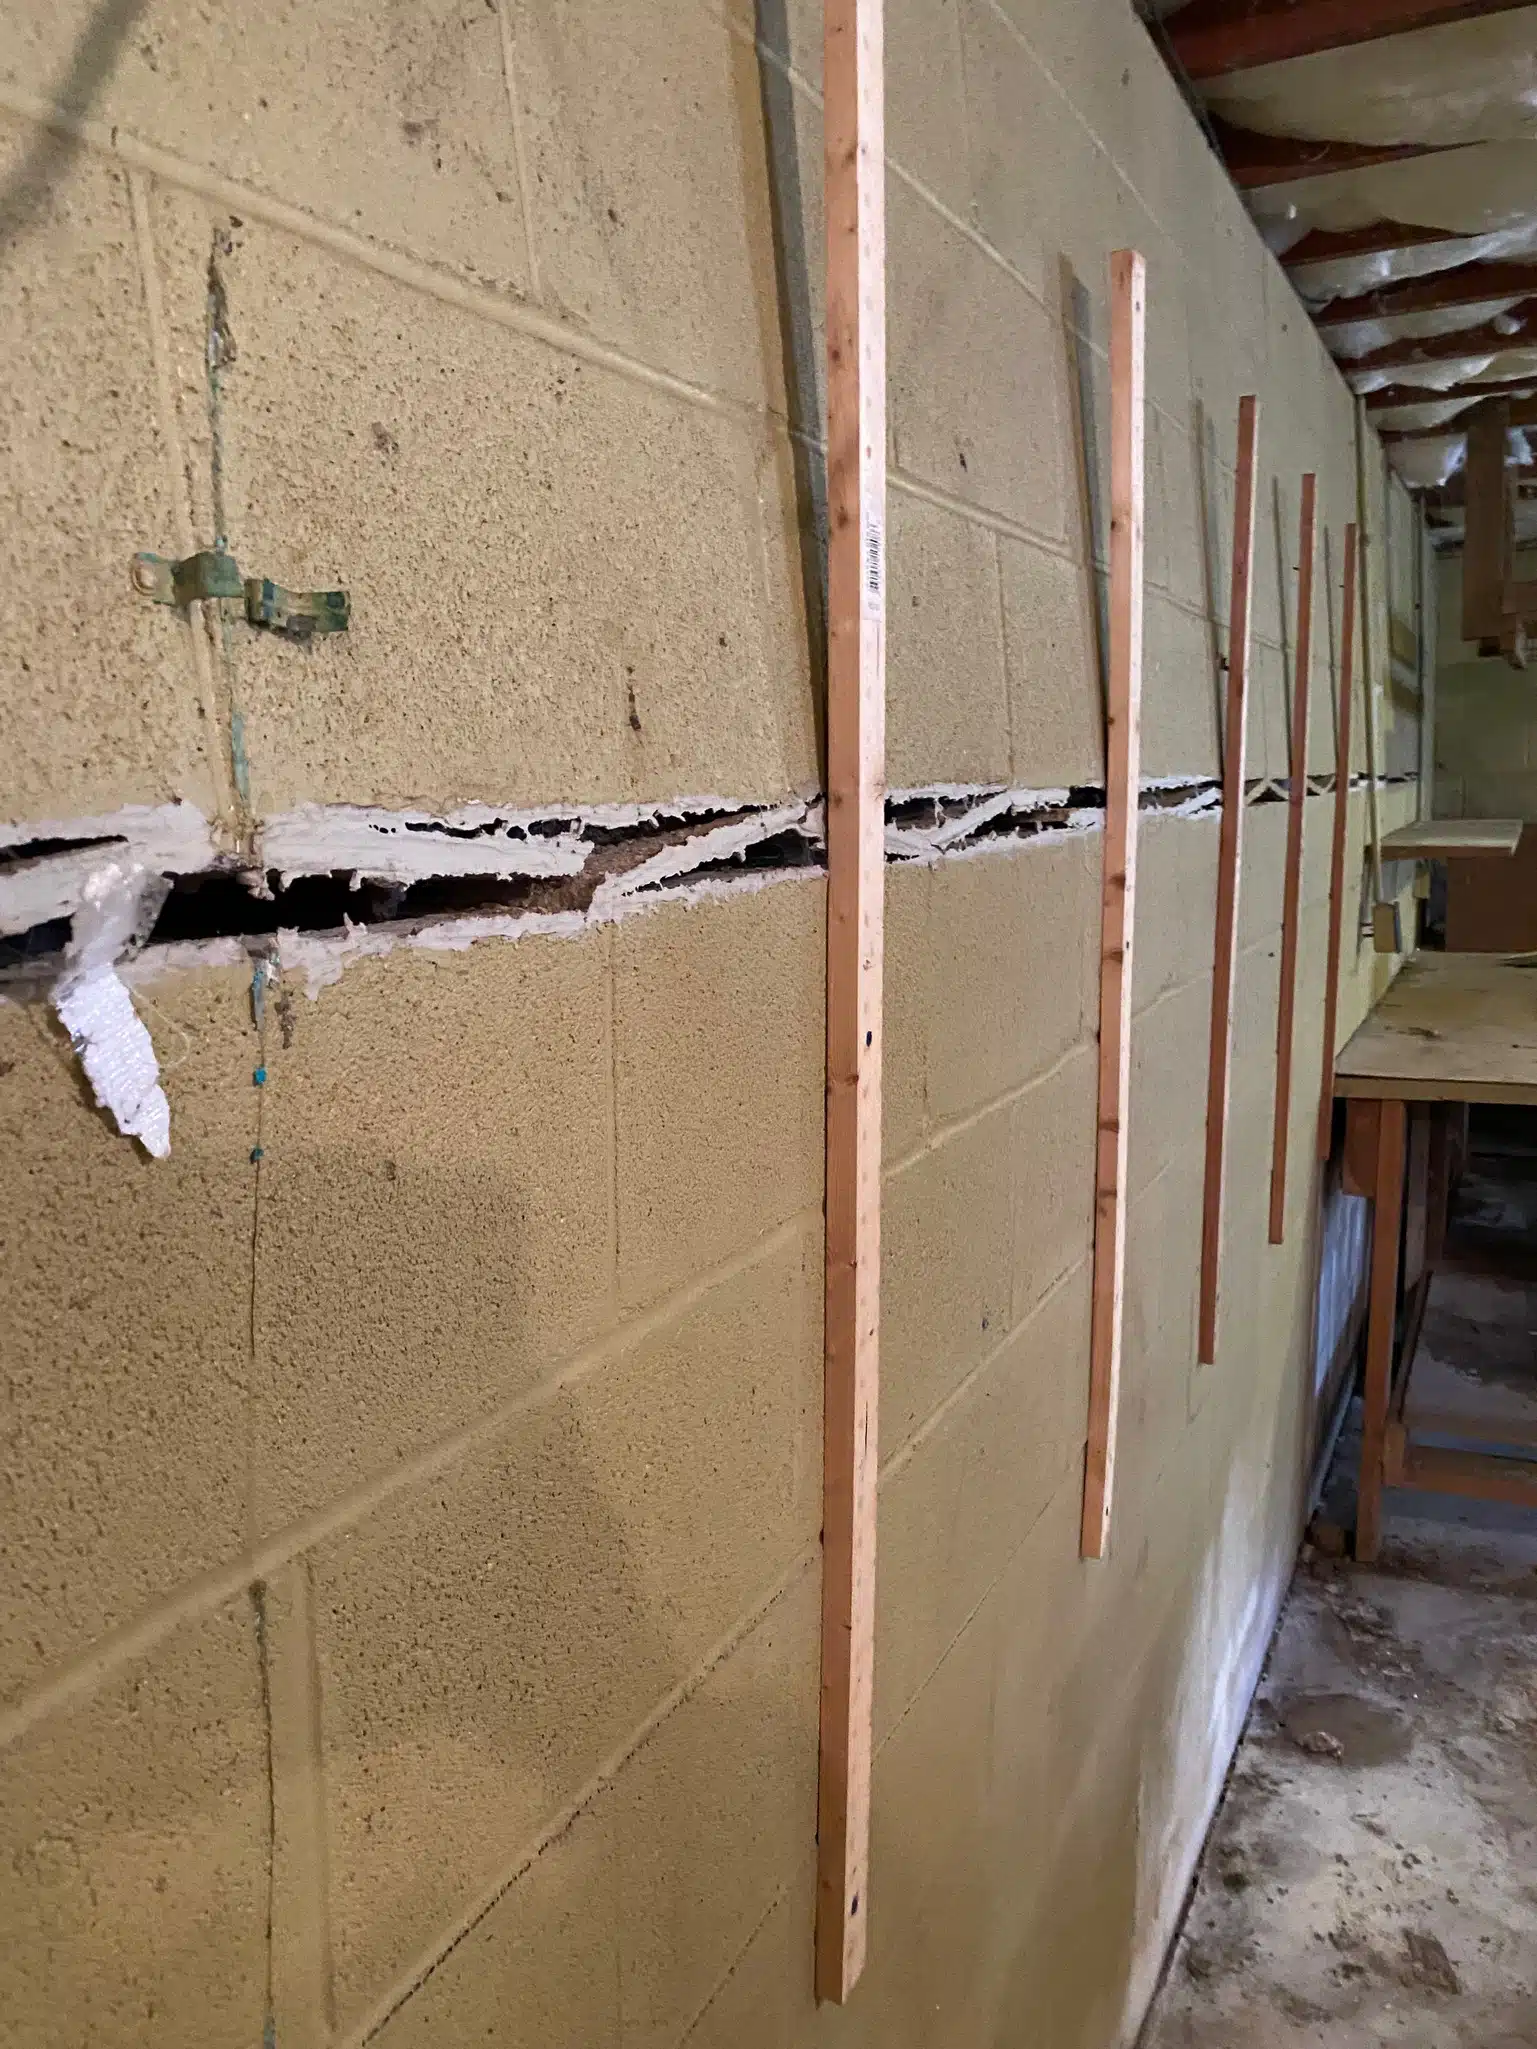
Identifying Basement Wall Issues
Nearly every homeowner will encounter basement wall issues at some point. It’s crucial to identify these problems early to prevent extensive damage. Regular cracks inspection can help spot potential problems.
You’ll want to look for vertical displacement or horizontal movement in the wall. This could be a sign of soil pressure or foundation settlement.
Moisture detection is another critical aspect of identifying basement wall issues. If you notice damp spots on the walls or a musty smell, you might’ve a moisture problem. This could be due to drainage issues outside your home or even a leak in your plumbing.
Bowing walls are also a red flag. They’re usually caused by increased soil pressure pushing against the wall. You can typically spot this issue by looking for horizontal cracks or a wall that appears to be leaning inward.
Overview of Stabilization Techniques
Once you’ve identified the issues with your basement walls, it’s time to explore the various stabilization techniques.
Some problems might seem like an easy DIY fix, but it’s vital to get a professional assessment before you engage. Here, we’ll go over a broad overview of these techniques.
- Wall Anchors: These are fundamentally metal plates that you install on either side of the wall. They’re connected by steel rods, which apply pressure to counteract any pushing or bulging.
- Carbon Fiber Straps: They’re light, yet incredibly strong and durable. You adhere these straps to your walls to prevent any further bowing or cracking.
- Helical Tiebacks: These are like giant screws that are drilled through the wall and into the soil outside. They provide lateral pressure to keep the wall stable.
- Underpinning: This involves extending the foundation deeper or wider, so it rests on a more stable layer of soil.
Steel I-Beams for Stabilization
Shifting our focus from the general techniques, let’s now concentrate on the use of Steel I-Beams for stabilization. When it comes to basement wall stabilization, you can’t ignore the steel beam advantages. They’re sturdy, durable, and highly resistant to pressure. This makes them an excellent choice for holding back the weight of the earth and preventing your basement walls from shifting or bowing.
The installation process for steel I-beams is straightforward. First, you’ll need to measure the distance from the floor to the ceiling of your basement. This will determine the length of the steel I-beams you’ll need.
Next, holes are drilled into the top and bottom of the basement walls, exactly where the beams will be placed. The I-beams are then slid into these holes and secured with bolts. Each beam is typically placed every 4 to 6 feet along the wall.
While installation is simple, it’s critical to get it right. If the beams aren’t properly installed, they may not provide the necessary support, and your walls could continue to shift.
Always consult with a professional to guarantee the job is done correctly.
Carbon Fiber Strips Technique
Diving into another effective basement wall stabilization method, let’s take a look at the Carbon Fiber Strips Technique. This technique involves the use of carbon fiber, a robust material known for its high strength and light weight.
Carbon fiber’s advantages are numerous, especially when used in basement wall stabilization.
- Strength: Carbon fiber has a high strength-to-weight ratio, making it ideal for reinforcing structures.
- Durability: It’s resistant to moisture and chemicals, perfect for basements where dampness can be a problem.
- Flexibility: It can conform to any shape, which allows it to adhere to uneven surfaces.
- Low profile: It’s sleek and doesn’t protrude from the wall, maintaining your basement’s aesthetic appeal.
The installation process is straightforward. First, the wall surface is prepared and cleaned.
Then, an epoxy adhesive is applied to the wall. The carbon fiber strip is embedded into the adhesive, and another layer is applied on top. After it cures, the wall becomes stronger and more resilient.
Wall Anchors and Their Uses
Now, let’s move on to wall anchors and their uses in basement wall stabilization.
You’ll learn about the different types of wall anchors and how they can be correctly installed to support your basement walls.
This technique can be a crucial tool in your arsenal to guarantee a secure and stabilized basement.
Types of Wall Anchors
Understanding the different types of wall anchors and their uses can greatly improve your basement wall stabilization efforts. Wall anchors come in various types and materials, each with its own installation methods, anchor spacing, and load distribution.
- Expansion anchors: These are effective for heavy loads and come in various materials, such as stainless steel and zinc-plated steel. Their effectiveness, however, depends on the strength of the concrete.
- Chemical anchors: These anchors are embedded in a hole filled with epoxy or polyester resin. They’re resistant to environmental factors, but require meticulous installation.
- Screw anchors: These are easy to install and remove, making them ideal for temporary installations. But, they’re less effective in withstanding heavy loads.
- Plate anchors: These are used for stabilizing bowed or cracked walls. They interact well with the soil and distribute the load evenly.
Anchor lifespan and maintenance considerations are essential factors when choosing the right anchor. The anchor’s interaction with the soil and environmental factors can impact its effectiveness.
Hence, understanding these aspects can guide you in selecting the most suitable anchor for your basement wall stabilization.
Installing Wall Anchors Properly
Proper installation of wall anchors is vital to your home’s structural integrity. These handy tools can strengthen basement walls while providing effective wall repair solutions. But how do you install them properly?
First, you’ll need to identify the problem area. Look for signs of stress, like cracks or bulging. Once you’ve pinpointed where you need reinforcement, you’re ready to begin your anchor installation.
You’ll start by drilling a hole into the wall, making sure it’s deep enough to secure the anchor.
Next, you’ll insert the wall anchor into the hole, verifying it’s flush with the wall’s surface. It’s essential to position the anchor correctly to distribute the load evenly.
After the anchor is in place, you’ll tighten it using a wrench or other suitable tool. But be careful not to overtighten, as this can damage the wall further.
Finally, you’ll install a wall plate on the inside of your basement wall. This plate will help distribute the force across a larger area, adding an extra layer of support.
The right anchor installation is a significant step in wall repair. Done correctly, it guarantees a safe, stable basement for years to come.
Helical Tiebacks Explained
While it might seem complex at first, helical tiebacks are a highly effective method for stabilizing basement walls. Their helical design allows them to be drilled into the soil, creating a secure and stable anchor. This design also allows for enhanced soil interaction, increasing the load capacity and improving resistance factors.
The installation process is straightforward. Here’s what it usually involves:
- Selecting the right material based on environmental considerations and the specific requirements of your project.
- Drilling the tieback into the soil at an angle, making sure it’s anchored properly.
- Monitoring the load capacity during installation to guarantee peak performance.
- Backfilling the soil and finishing off the installation.
These steps guarantee a secure installation, but that’s not all. The long-term performance of helical tiebacks is also impressive. They require minimal maintenance and are resistant to environmental changes, which makes them a robust choice.
Keep in mind that the project timeline can vary based on the complexity of the project and the condition of your basement walls. Regardless, with professional help, you’ll be able to stabilize your basement walls effectively using helical tiebacks.
Choosing the Right Stabilization Technique
Now that you’re familiar with various stabilization techniques like helical tiebacks, it’s time to pinpoint the right one for your basement.
Consider each method’s pros and cons, and perform a cost-benefit analysis.
Evaluating Stabilization Methods
Choosing the right stabilization method for your basement walls is no small task.
It’s crucial to evaluate each technique’s stabilization effectiveness and conduct a thorough method comparison to guarantee a solid, lasting foundation.
Consider these four key factors when evaluating stabilization methods:
- Stabilization Effectiveness: How well does the technique strengthen your basement walls? Does it adequately resist soil pressure and prevent future damage?
- Durability: Will the method stand the test of time, or will you be revisiting the same issue a few years down the line?
- Environmental Impact: Does the solution contribute to environmental degradation, or is it a sustainable choice?
- Ease of Implementation: Is the technique easy to apply, or does it require extensive manpower and machinery?
Cost-Benefit Analysis
Like a meticulous architect, you need to weigh the costs and benefits of each stabilization method before making a decision. The financial implications of your choice are a critical factor to evaluate. It’s not just about the upfront cost, but also the long-term savings that can be realized from a more efficient or durable method.
Evaluate the following table:
| Stabilization Method | Initial Cost | Long-Term Savings |
|---|---|---|
| Method A | $$$ | $$ |
| Method B | $$ | $$$ |
| Method C | $$$$ | $ |
As you can see, Method A may be expensive initially, but could result in moderate long-term savings. On the other hand, Method B is more affordable in the beginning and could potentially yield greater savings over time. Method C, though the priciest initially, might not offer substantial savings down the line.
Don’t jump at the lowest price tag. Instead, you’ve to assess the overall value. It’s about balancing your present budget with the future maintenance costs. Your goal should be not only to stabilize your basement walls, but also to optimize your resources for a sound investment.
Frequently Asked Questions
What Is the Average Cost of Implementing Basement Wall Stabilization Techniques?
You’re probably wondering about the cost of implementing basement wall stabilization techniques.
It’s hard to pin down an exact average, as pricing variations depend on multiple cost factors. These can include the severity of the damage, the method used, and your location.
However, it’s common to see costs ranging from $500 to $1,000 per wall.
Always consult with a professional for an accurate estimate tailored to your specific situation.
How Long Does a Typical Basement Wall Stabilization Project Take?
You’re probably wondering how long a typical basement wall stabilization project takes.
It depends on the complexity of the job and the stabilization methods used. Generally, you’re looking at a timeline of about one to two weeks.
Are There Any Potential Risks Involved in Basement Wall Stabilization?
Yes, potential risks are involved in basement wall stabilization.
You may inadvertently cause foundation issues if not done correctly, compromising the structural integrity of your home.
It’s essential to hire a professional who understands this delicate process.
They’ll guarantee everything’s done right, preventing any additional damage.
So, while you might be tempted to DIY this project, it’s not recommended.
The risks simply aren’t worth it.
What Maintenance Is Required After the Basement Wall Has Been Stabilized?
After you’ve stabilized your basement walls, some maintenance is necessary.
Regular post-stabilization inspections should be conducted to guarantee the wall’s integrity.
You’ll also need to manage ongoing moisture control. This involves checking for leaks and using dehumidifiers to maintain a dry environment.
It’s important not to neglect these steps; otherwise, your stabilization efforts might lose their effectiveness over time.
Regular upkeep is vital to your basement’s overall health.
Is Basement Wall Stabilization Covered Under Home Insurance Policies?
Typically, your home insurance policy doesn’t cover basement wall stabilization.
It’s often seen as a home maintenance issue, not a sudden, accidental event. However, there might be exceptions depending on the cause of the damage.
You’ll need to check your policy’s exclusions carefully. If you’re unsure, it’s best to discuss with your insurance provider.
They can clarify what’s covered and what’s not, to prevent any surprises down the line.
Conclusion
Remember, your home’s structural integrity relies heavily on basement stabilization. Don’t overlook potential wall issues. Explore options like steel I-beams, carbon fiber strips, wall anchors, or helical tiebacks. Each has its own benefits and costs, so consider wisely. Always consult with professionals to guarantee the right technique is used. By understanding these stabilization methods, you’re taking an essential step to safeguard your basement from future problems.

Seal-tite Basement Waterproofing Co. is a full service basement environment contractor. We carry an A+ Better Business Bureau rating. We repaired over 40,000 homes and structures in Virginia, West Virginia, Tennessee, and North Carolina. We are fully insured and licensed. We have worked in all types of locations, including residential and commercial locations, government agencies, colleges, hospitals, churches, and condo associations.
Seal-tite® offers a lifetime transferable warranty. We carry a Class A Contractor’s License and we are fully insured. Our satisfied customers range from government agencies to businesses, hospitals, colleges, churches, and thousands of homeowners. Your home is probably the single largest investment you will make in your lifetime. Don’t wait, call Seal-tite® to help make your home dry, safe and livable.

